
Is your Gojo soap dispenser broken or old? Don’t worry! Replacing a Gojo soap dispenser is easier than you might think. This guide will show you exactly how to do it, step by step.
Many people use Gojo soap dispensers in their homes, offices, and businesses. These dispensers are great for keeping hands clean and germ-free. But sometimes, they break or wear out over time.
Why You Might Need to Replace Your Gojo Soap Dispenser
There are several reasons why you might want to replace your Gojo soap dispenser:
Your dispenser might be cracked or broken. The pump mechanism could stop working properly. Sometimes, the dispenser gets too dirty to clean well.
Maybe you want a newer model with better features. Or perhaps you’re redecorating and want a different color or style.
Whatever your reason, replacing a Gojo soap dispenser is a simple task that anyone can do.
What You’ll Need Before You Start
Before you learn how to replace Gojo soap dispenser, gather these basic tools:
You’ll need a screwdriver (usually Phillips head). Get some paper towels or a clean cloth. Have your new Gojo soap dispenser ready.
You might also want some mild soap and water for cleaning. A small container can help catch any leftover soap from the old dispenser.
Most importantly, make sure you have the right replacement dispenser. Check the model number on your old one if possible.
vvTurn Off Water and Remove Old Soap
The first step in how to replace Gojo soap dispenser is to prepare your workspace.
If your dispenser is near a sink, you might want to turn off the water. This prevents any accidental splashing while you work.
Next, use up or remove any remaining soap from the old dispenser. You can pump it out or carefully pour it into another container.
Clean around the dispenser area with a damp cloth. This makes the job easier and cleaner.You can als read The Best Bathroom Heater: Keep Your Bathroom Warm and Cozy.
Remove the Old Gojo Soap Dispenser
Now comes the main part of how to replace Gojo soap dispenser - taking out the old one.
Most Gojo dispensers are mounted to the wall with screws. Look for the screws that hold your dispenser in place.
Use your screwdriver to carefully remove these screws. Turn them counter-clockwise (lefty-loosey, righty-tighty).
Keep the screws in a safe place. You might need them for the new dispenser.
Gently pull the old dispenser away from the wall. Be careful not to damage the wall surface.
Clean the Mounting Area
Before installing your new dispenser, clean the mounting area thoroughly.
Wipe away any soap residue, dirt, or grime from the wall. Use mild soap and water if needed.
Check the screw holes in the wall. Make sure they’re clean and not damaged.
If the holes are too big or damaged, you might need wall anchors or filler. This ensures your new dispenser will be secure.
Let the area dry completely before moving to the next step.
Prepare Your New Gojo Soap Dispenser
Unpack your new Gojo soap dispenser carefully. Check that all parts are included.
Read the instruction manual that comes with it. Each model might have slightly different installation steps.
Some dispensers come with new mounting screws. Others might use the old ones.
Remove any protective plastic or packaging from the dispenser. Make sure the pump mechanism works by testing it gently.
Mark the Mounting Holes
Hold your new dispenser against the wall where the old one was mounted.
Use a pencil to mark where the new screw holes should go. This ensures your dispenser will hang straight and level.
If the new dispenser has different hole spacing than the old one, you might need to drill new holes.
Double-check that the dispenser will be at a comfortable height for users. Most people prefer it at about chest level.
Install the New Gojo Soap Dispenser
Now you’re ready for the final step in how to replace Gojo soap dispenser.
Line up the dispenser with your marked holes. Hold it firmly in place while you work.
Insert the screws through the mounting holes. Turn them clockwise to tighten, but don’t over-tighten.
Make sure the dispenser is level and secure. Give it a gentle shake to test its stability.
If it feels loose, tighten the screws a bit more. If it’s too tight, the plastic might crack.
Step 7: Fill and Test Your New Dispenser
Once your dispenser is mounted, it’s time to fill it with soap.
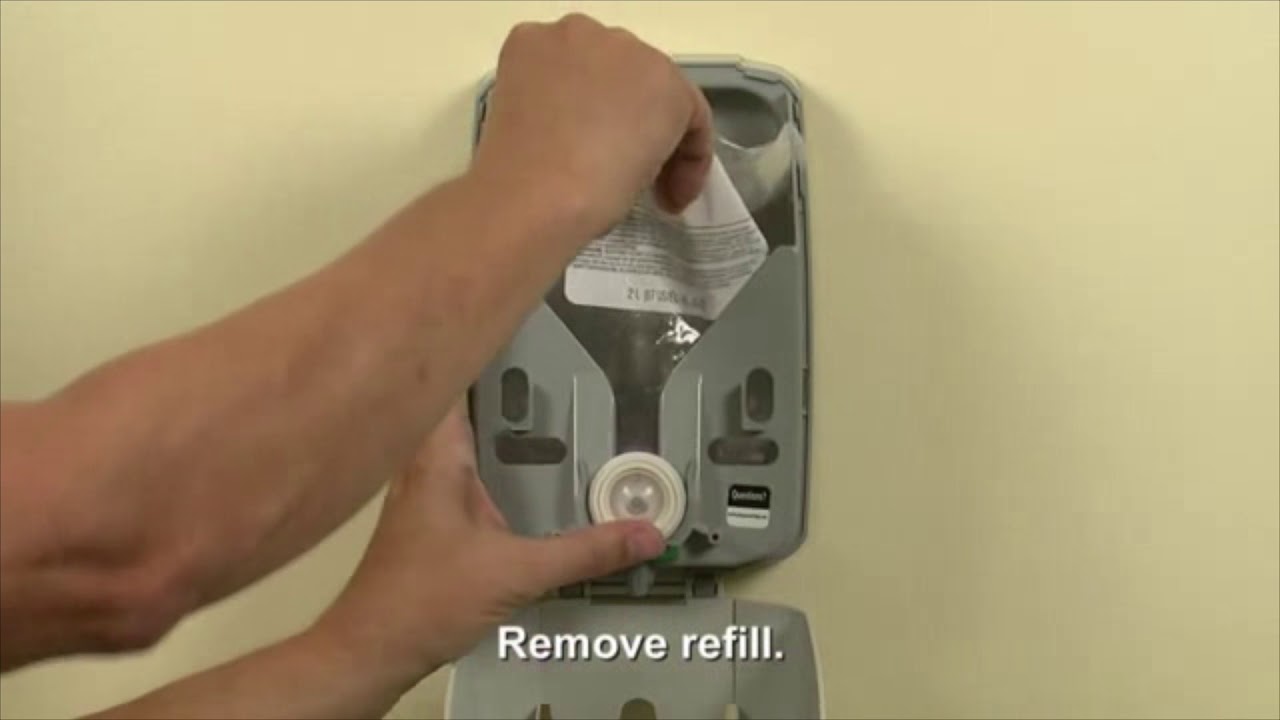
Most Gojo dispensers have a refillable reservoir. Open it according to the instructions.
Pour in the appropriate Gojo soap refill. Don’t overfill - leave some space at the top.
Close the reservoir securely. Make sure it clicks or locks into place properly.
Test the pump mechanism several times. The first few pumps might not produce soap as the system primes itself.
Choosing the Right Replacement Dispenser
When learning how to replace Gojo soap dispenser, picking the right replacement is important.
Consider the size of your space and how many people will use it. Larger dispensers need refilling less often.
Think about the type of soap you prefer. Some dispensers work only with specific refill types.
Look at the mounting style. Wall-mounted dispensers save counter space, while countertop models are easier to move.
Check the dispenser’s capacity. High-traffic areas need larger dispensers.
Common Problems and Solutions
Sometimes, people run into issues when learning how to replace Gojo soap dispenser.
If the screw holes don’t line up, you might need to drill new ones. Use appropriate wall anchors for your wall type.
If the dispenser feels wobbly, check that all screws are tight. You might need longer screws or better anchors.
If soap doesn’t come out properly, make sure the refill is installed correctly. Check for air bubbles in the system.
If the pump mechanism sticks, it might need a few uses to break in properly.
Maintenance Tips for Your New Dispenser
After you replace Gojo soap dispenser, proper care keeps it working well.
Clean the outside regularly with a damp cloth. Avoid harsh chemicals that might damage the plastic.
Check the soap level regularly. Don’t let it run completely empty, as this can cause pump problems.
When refilling, use only compatible Gojo soap refills. Other soaps might clog the mechanism.
Wipe up any soap spills immediately. This prevents buildup and keeps the area clean.
When to Call a Professional
Most people can easily learn how to replace Gojo soap dispenser themselves. However, sometimes professional help is needed.
If you need to run new plumbing or electrical connections, call a professional. This is especially true for automatic dispensers.
If your wall is damaged or needs major repair, a handyman can help.
For commercial installations or multiple dispensers, professional installation might be more efficient.
Cost Considerations
Replacing a Gojo soap dispenser is usually affordable. Basic models start around $20-30.
Higher-end dispensers with automatic sensors cost more but offer convenience.
Factor in the cost of soap refills when choosing your dispenser. Some types are more expensive than others.
Consider the long-term savings of a durable, well-made dispenser versus cheaper alternatives.
Environmental Benefits
Learning how to replace Gojo soap dispenser instead of throwing it away helps the environment.
Many dispenser parts can be recycled. Check with your local recycling center.
Refillable dispensers reduce plastic waste compared to disposable soap bottles.
Choose dispensers that work with eco-friendly soap refills when possible.
Summary
Learning how to replace Gojo soap dispenser is a simple task that anyone can master. Start by gathering basic tools like a screwdriver and cleaning supplies. Remove the old dispenser by unscrewing it from the wall, then clean the mounting area thoroughly.
Prepare your new dispenser by reading the instructions and checking all parts. Mark the mounting holes carefully, then install the new dispenser securely. Fill it with appropriate soap refills and test the mechanism.
Choose the right replacement based on your space and needs. Regular maintenance keeps your new dispenser working well for years. With these simple steps, you’ll have a fresh, working soap dispenser that keeps everyone’s hands clean and healthy.
Remember, taking time to do the job right the first time saves you trouble later. Your new Gojo soap dispenser will serve you well with proper installation and care.